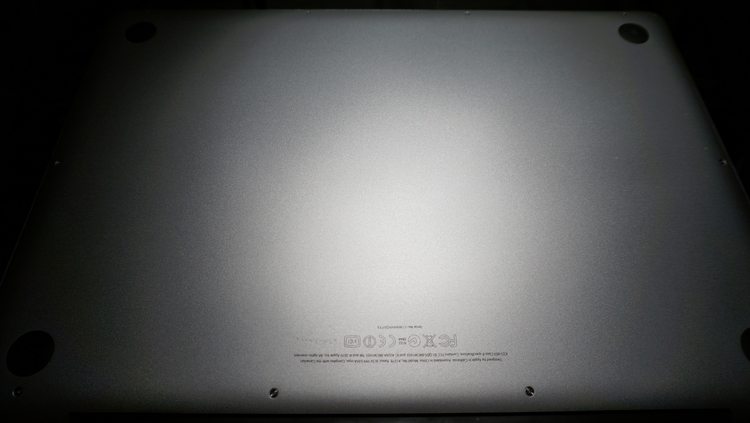
Once all screws are removed and the cables out of the way, you should be able to wiggle the SuperDrive out of its slot, sliding it out from underneath the speaker and wifi adapter. If you feel any resistance, go back and make sure all screws have been removed. Do not force anything.
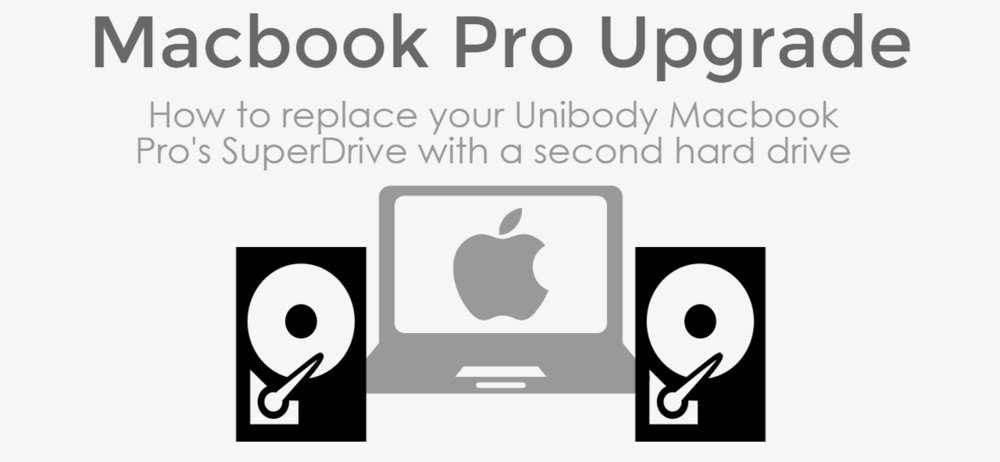
If you inspect the SuperDrive, you’ll find one short cable attached, along with a mounting arm secured with two screws. Remove each and install them into the corresponding location on the hard drive tray.
Slide the prepared hard drive tray into the vacated space and line up the screws. Replace each mounting screw. Do not over tighten. Position the speaker and wifi adapter and replace those screws as well.
Line up each of the four cables and carefully plug them back in. Gently tuck the wifi adaper cable along the bottom edge of of the drive tray. Apply careful pressure to plug in each cable. They should snap into place easily.
Do a final inspection to make certain all screws are in place, that all cables are plugged in, and everything looks correct. If so, go ahead and replace the bottom plate, making sure to get those lengthy screws back into place along the hinge.
Power your Macbook Pro up and, using Finder, navigate to your new drive and bask in the glory of massive Macbook storage without paying Apple’s hefty asking price.
If you run into trouble or don’t want to risk damaging your Macbook Pro, be sure to call Poindexter for a free consultation and low-cost upgrade.